For example, in the preceding ARM template example for creating a storage account, we generate the storage account name using the text store followed by a GUID:
“variables”: {
“storageAccountName”: “[concat(‘store’, uniquestring(resourceGroup().id))]”
},
Further complexity can be added using conditional statements using the following format:
“condition”: “[equals(parameters(‘<someparameter>’),'<somevaluetotestfor>’)]”
For example, you can test for the value of a specific parameter and perform different actions depending on what is passed through, as in the following ARM template snippet.
By using logic and functions, you can create complex templates that can be dynamically re-used across many different use cases.
Templates can be used in a variety of ways to deploy resources. You can use ARM templates with PowerShell or the CLI to create resources instead of defining configurations as parameters.
You can also upload templates to the Azure portal when creating services. This enables you to create components with pre-agreed configuration elements, which in turns allows you to better control consistency. For example, if you always want your storage account to use the StorageV2 kind, enable data lake hierarchies, and use geo-redundancy, you can define all these elements in your custom ARM template and always use that template instead of the standard portal wizard.
As well as writing your own from scratch, or using a start template from the Microsoft GitHub repository, you can also export the template for an existing deployment. This is great because it allows you to build the component through the Azure portal’s GUI but then save those configuration elements for future use.
The following screenshot shows an example of exporting a template in the portal:
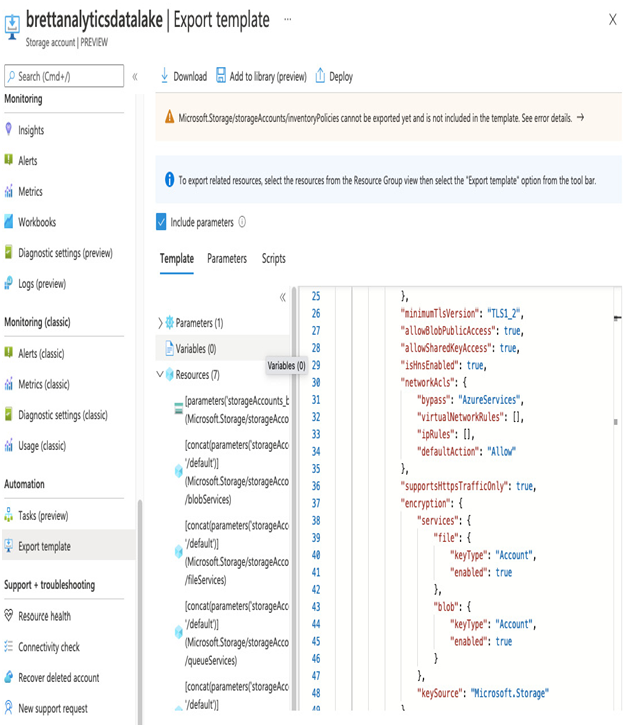
Figure 17.2 – Export a template from an existing component
The template can either be downloaded as a JSON document or added to a library in Azure. In Figure 17.2, you can see an Add to library button.
Once saved, either as a file or within the Azure library, you can then either create a component in the Azure portal as a template deployment or perform a deployment from the library. The following screenshot shows an example deployment initiated from a custom template:
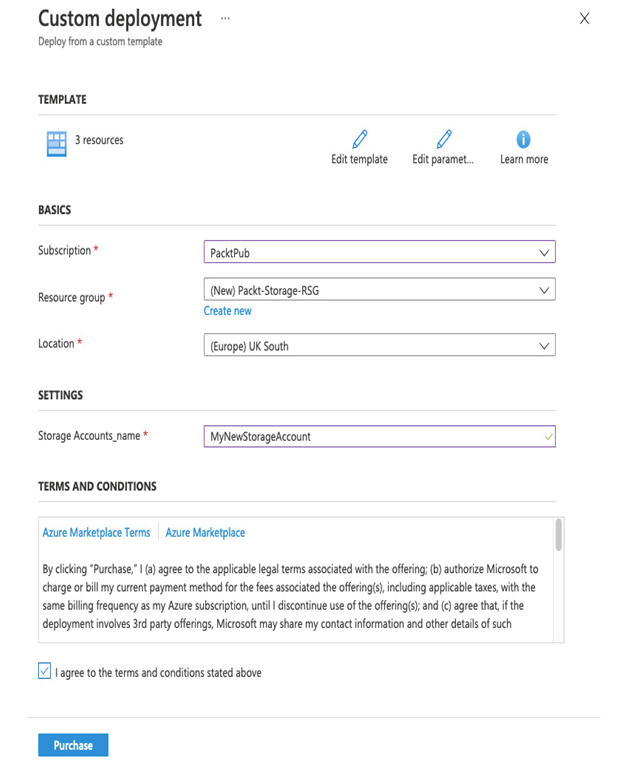
Figure 17.3 – Example deployment from a custom template
In the previous section, Choosing between PowerShell or Azure CLI, we said that ARM templates can be used with PowerShell or the Azure CLI to more easily deploy resources.
Using the New-AzDeployment (PowerShell) or az deployment group create (CLI) commands, we can reference an ARM template and a separate parameters file.
Again, these can be combined in complex scripts, performed ad hoc, or used in Azure Cloud Shell.
Using scripts and ARM templates provides a powerful tool to deploy, manage, and align our resources in Azure. However, once we combine the ability to define resources in code with the ability to automate deployments, we can gain complete control over our solutions and ensure consistency across both projects and environments.
In the final section of this chapter, we will therefore look at Azure DevOps, which provides these capabilities and more.

Leave a Reply